|
Decided to rebuild the car, well
not entirely just couple components. During the initial build of the car and
the conversion of brakes into rotors, decision was made to do line lock rather
then proper parking brake or ebrake setup so more on that in the
eBrake section just to keep
things grouped things.
eBrake
Engine rebuild
Air intake
One part of the engine harness was bundled together with chassis harness because
I thought that it would be better and have less holes in the firewall and engine
would not have to be ever removed. Well found out the hard way, what a PITA to
split the loom. So this is getting corrected by drilling a new hole in the
firewall for small grommet. Need to figure out OBD connector and communication
issue. Need to add small idiot lights pod as the pigtail was originally wired into
the dash harness but never finished. Plus some security features
Start
In order to get into brake lines in order to remove the cut line for the
bias/line lock, engine needed to be removed from the car. Spend couple hours 3
days slowly disconnecting all systems between engine and chassis. For the 6
hours of work an hour or so was wasted do to the harness issue between
body and engine going through same grommet in the firewall.
After 4 nights and 8 hours of work the engine is out of the car and it sure
looks dusty after sitting around for so long. Need to separate trans from the
engine and pull any unnecessary things from the engine and will ship her down to
machine shop to quick look and fix anything that's odd
Stripped all of the accessories from the engine including intake manifold and
had it dropped off at the machine shop saturday Jun 4. When draining the oil ,
it was rather on thicker side, bolt had some sludge attached to it and it
smelled bit like exhaust fumes. Not very good sign, but I guess the shop will be
the judge on the condition of the engine.
Now that all its left is the chassis and free to do and take things off , its
time to rip things apart and make changes that should had been done the first
time. New caliper bracket had designed and can be seen in the
eBrake update section. Its a remake
of ArizonaZ caliper conversion kit with upgrade provision for proper parking
brake caliper. Also the engine harness is being pulled apart to see if there was
any mistakes done when converting from 98 to 02 version to match the 02
PCM pin out which can be found in the
electrical section.
And lastly some of the electrical system is being modified to include some anti
theft deterrent.
Had to go for quick vacation trip end of July, but just before engine was
dropped off by Doug from engine shop. Unfortunately did not had time before
the trip but managed to put clutch and tranny and some hard to
get accessories on the engine. and had her dropped into the bay following week.
The engine
Engine for the project was purchased used and was promised to be in
perfectly good running condition with no defects no smoke or any other problems.
When it was installed and run for the first time it was evident that there was
something wrong as there was vapor in the tail pipe. Coolant was
constantly dropping level and though there was no visible water in the crank
case there was too much fumes from blow by in the oil. Coolant also had
some contamination but it was not oil but more like dark gray particles. The
only logical thing was exhaust gasses going into coolant.
As number of things needed to be done to the car, engine was removed separated
from transmission stripped of all accessories and shipped to machine shop
for tear down to find out possible causes of problems.
The engine had some millage on it and though it was sold as original engine from
WS6 it seemed like someone had replaced head gaskets. During the process it
seemed like people doing the gasket swap may had used hand tools or scratch pad
to clean up block and or head and had distorted and scratched surfaces which
caused the exhaust leakage to and from coolant and possibly leakage of coolant
into exhaust manifolds.
Apparently this is something common that non experienced techs do and as the
block and heads are aluminum surfaces are very easily damaged to this process.
Never the less the guys at
CompetitionAutomotive did a fantastic job in fixing this and couple other
problems and did a general over hall on bearings and what ever needed to be done
to bring it back to spec.
 With the engine squeezed in leaving very little room for exhaust clearances to
rest of the mechanical components and
electrical wiring routed even closed to engine and body panels, decided to wrap
the headers to keep heat under the hood to a minimal. With the engine squeezed in leaving very little room for exhaust clearances to
rest of the mechanical components and
electrical wiring routed even closed to engine and body panels, decided to wrap
the headers to keep heat under the hood to a minimal.
The way the headers are made, collectors are fairly long compared to the primary
pipes, not knowing on how much wrap was needed decided to purchase 2 rols of 2"
50foot long rolls.
Normal practice is to wrap anything over 1.5" in diameter on 1/4 overlap,
however as we had 2 rolls for a test we tried to wrap the collector tube with
1/3 overlap. It proved to be quite thin and still had lots of left over on the
roll.
As final wrap we decided to wrap it on 1/2 overlap making final wrap to be 2 ply
thick. it produced much even wrap as each turn edges where right against it.
After initial install and having the engine running for 10 minutes to break in
the bearings, headers where cool to touch. However they did started to worm up
after the engine was idling for longer period. Not having a reference to
what the temperature may had been before the headers where wrapped not sure how
the overall heat difference may had resulted.
never the less for the few hours of work and $80 for the wrap its still good
investment in trying to keep the temperature under the wrap
Fiew selected pictures of engine bay
Fiew selected pictures of header wrap
engine rebuild tally
Intake manifold
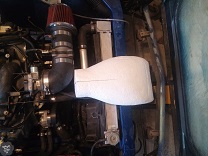
The L shaped tube and
round K&N filter work perfectly . . .
however, it sits inside the engine bay picking up hot air passing through the
radiator and general radiant heat generated by engine and exhaust. The
most common way to fix the problem is to extend the tube through the core
support meaning enlarging the hole that's already there and routing the tube
through it. Problem for me is that its already painted... not major deal
and secondly it destroys rigidity of the radiator core support.
 Other
and better way to do this is to route a tube above the core support where
there is
2" by 12" opening bit lower just to clear the
hood but still giving more then plenty of volume area for much cooler air to be
pushed into the throttle body. Now.... there is a problem there is none
that was made to be routed that way and cant find any from suitable donors.
Ones from corvette which are the closes have to much of a steep angle and are
too wide to fit between the support and hood. Other
and better way to do this is to route a tube above the core support where
there is
2" by 12" opening bit lower just to clear the
hood but still giving more then plenty of volume area for much cooler air to be
pushed into the throttle body. Now.... there is a problem there is none
that was made to be routed that way and cant find any from suitable donors.
Ones from corvette which are the closes have to much of a steep angle and are
too wide to fit between the support and hood.
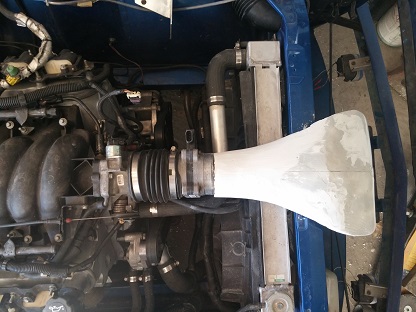
With couple blocks of foam glued together came up with a very
rough shape,
it still does need better contouring but it does have the clearance and cross
are for volume of air to go through and a filter to fit nicely behind the grill.
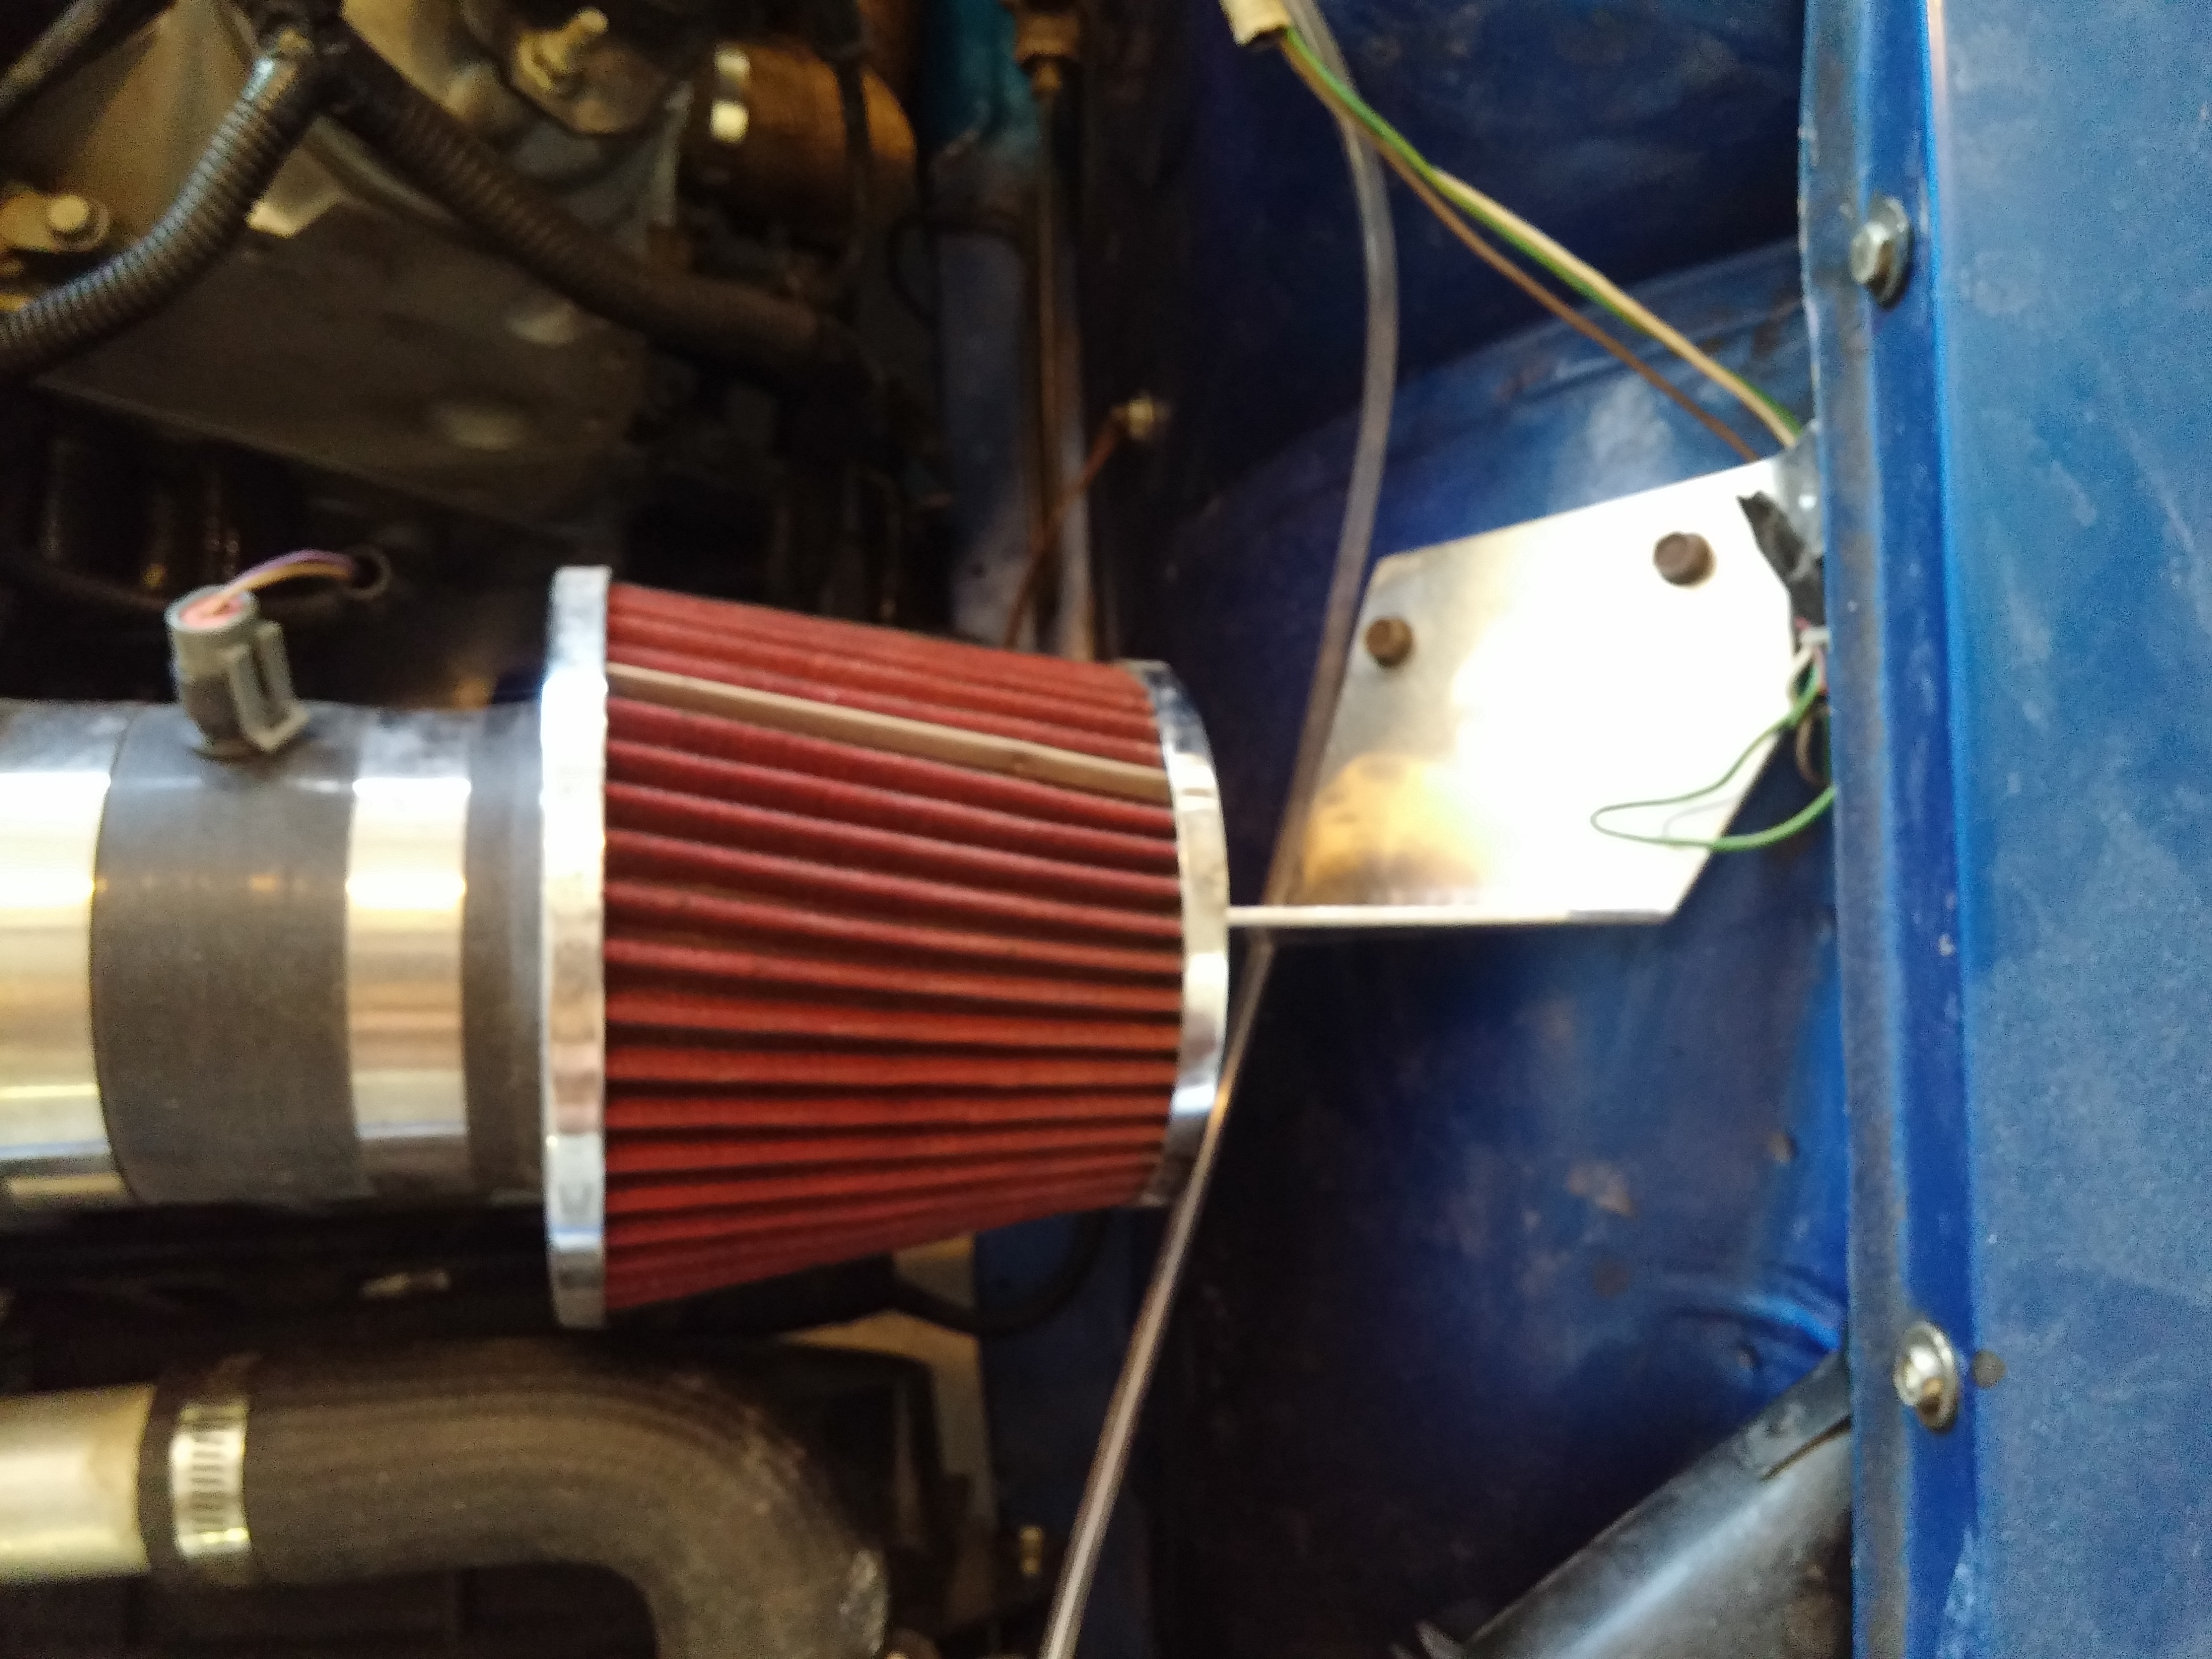
However rather then using the round filter which would work and probably be
easier to mount (hang) and having the air going from round to oval almost flat
back to round. Decided to use a more flatter and elongated filter. The shape is
more presentable and fits better behind the front grill.
Being that there is not that much space between the radiator support and the
hood, the tube had been made to be as wide as possible but same time not going
into very sharp edges where it would make making the molt and part difficult.
One major issue with the filter is that its of slip on type, meaning that there
is no way for it to be clamped on to the tube. However there are 2 mount
holes on bottom part of the frame centrally located that it might be possible to
make up a stand of to hold up the filter from slipping down. Second part
is as the filter is right in front its first line of catching any debris from
road or bugs flying into it. There fore will have to make up a secondary shield
so that it would deflect those objects before they have a chance of embedding
into the filter.
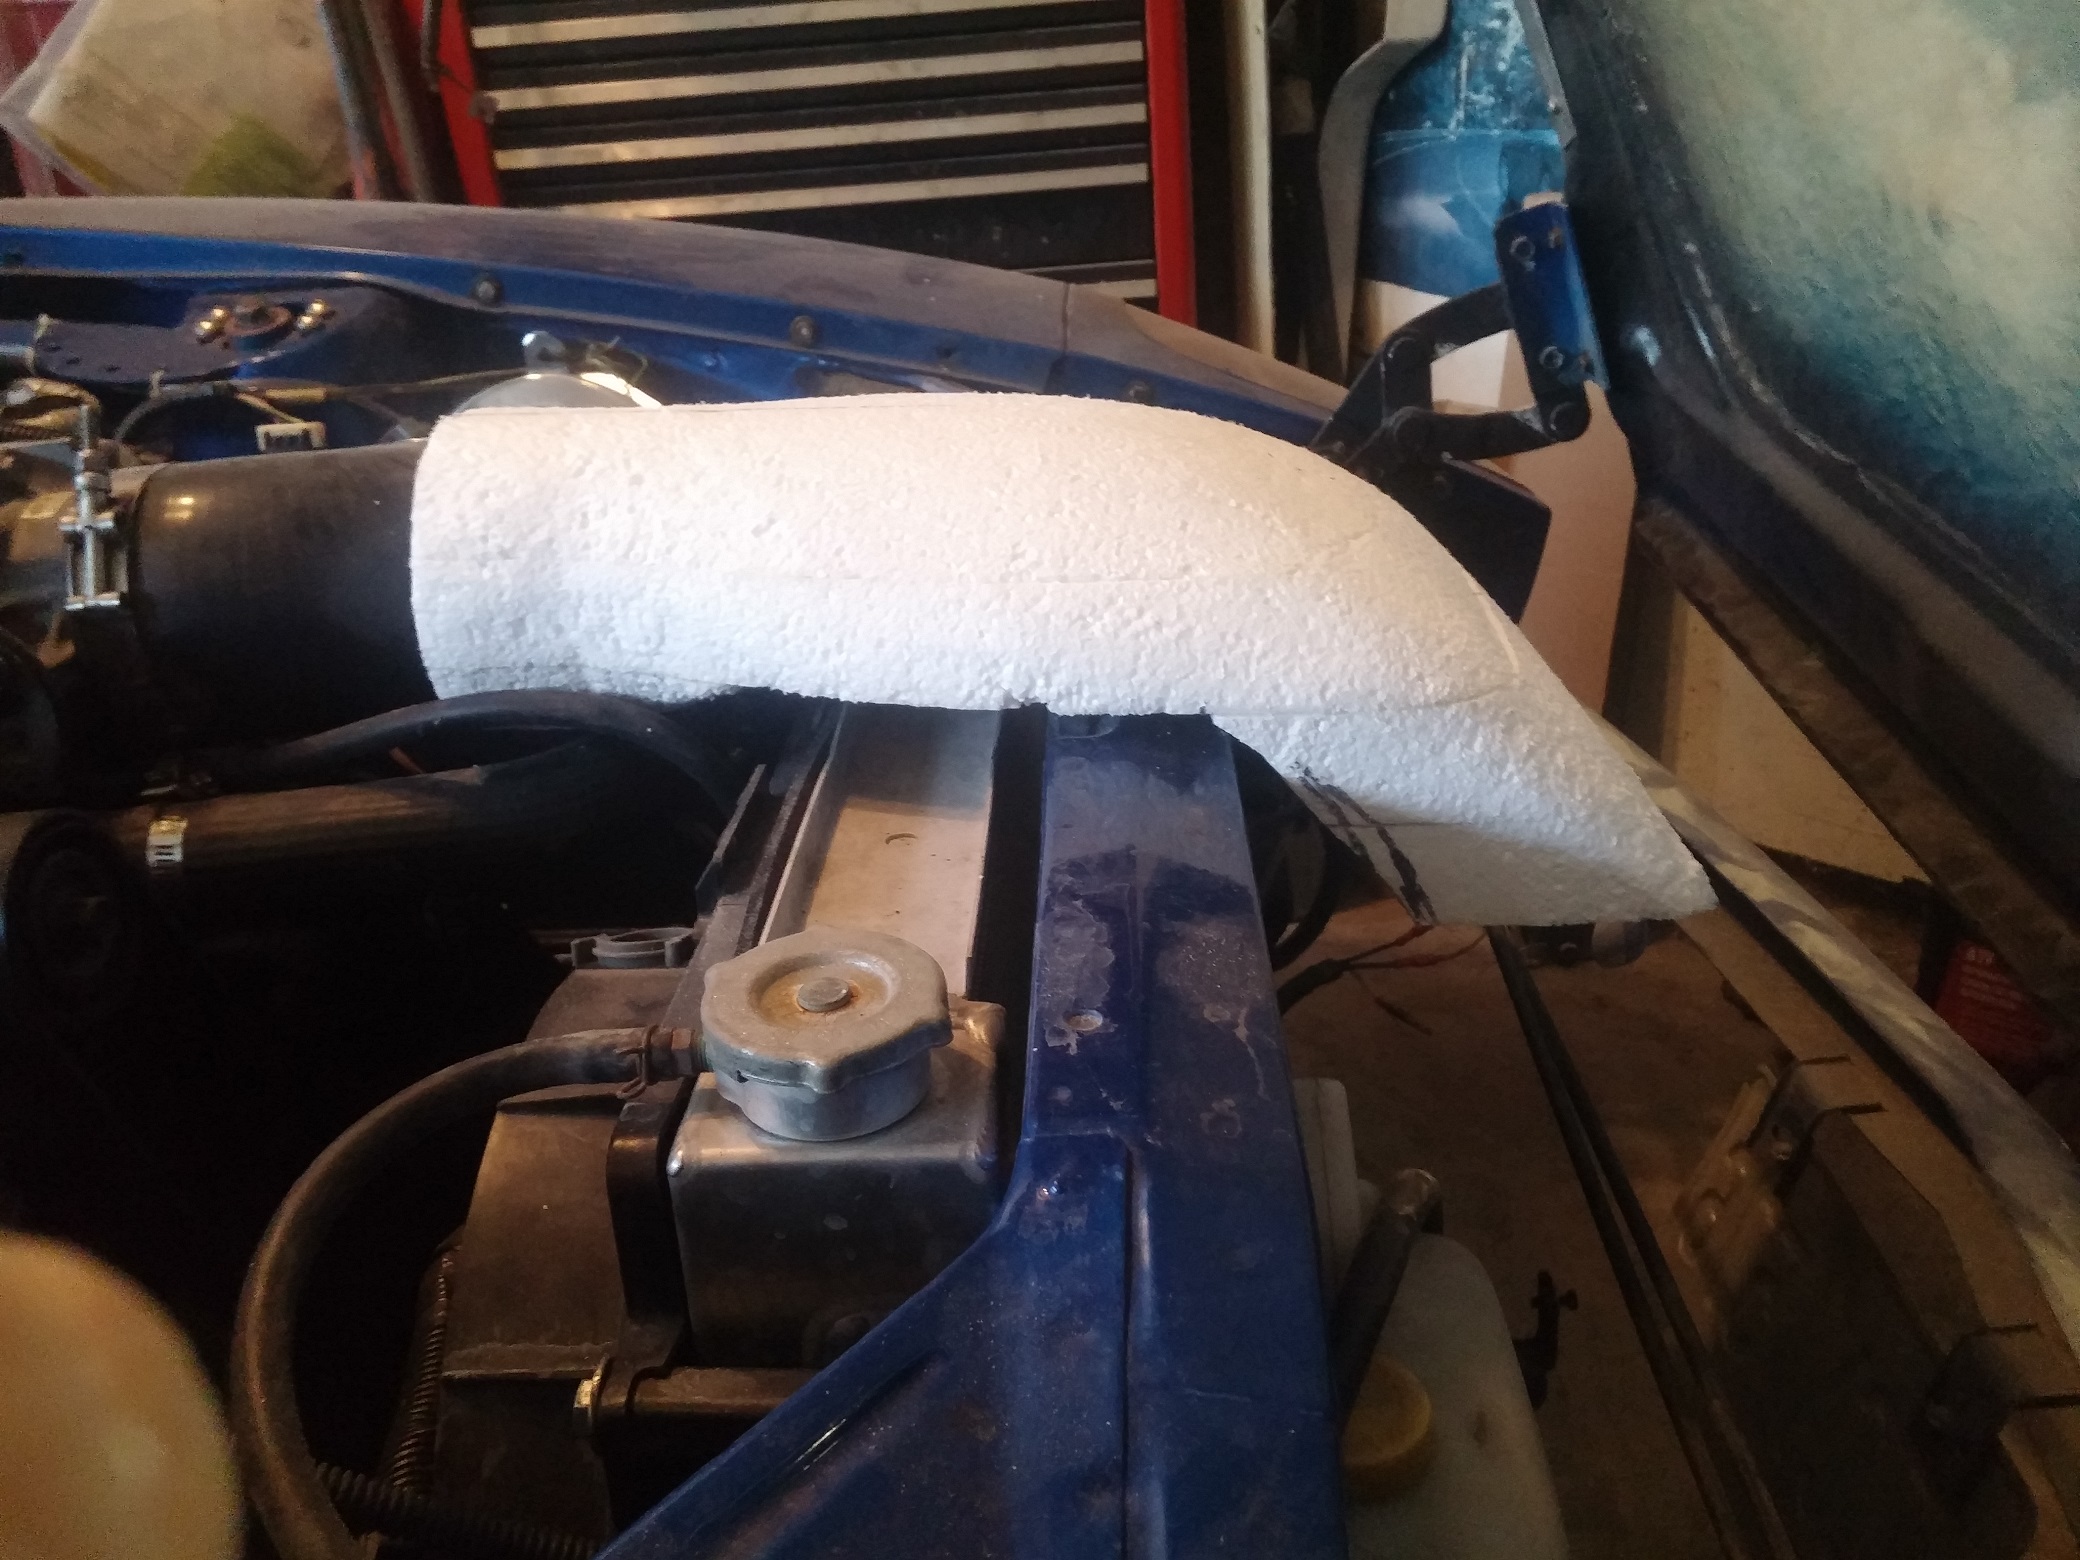
Making the tube started with some cut offs of foam and glued together to over
sized dimensions with rough contour for the tube. The foam was sanded down to
get a close approximation to the final shape and covered in filler to that a
hard shell can be made and which can be sanded smooth and primed so that a nice
glossy surface can be created.
 The
tube will go over the radiator support, in the center there is M8-1.25 welded in
nut on the inside of the support. That nut will be used for mounting the tube
into the core support through a hole on top of the tube. The access will be
covered with Z emblem that will be recessed and double sided taped to the tube.
The tube will facilitate a location for drilling and mounting a IAT sensor ahead
of MAF. The MAF it self will have a cushioning rubber band and is slipped
into the tube where another rubber band is o top of the tube and everything is
secured with a steel band. The tube and MAF are then connected with Camaro OE
flexible tube to throttle body. A video of the roughly
shapped foam The
tube will go over the radiator support, in the center there is M8-1.25 welded in
nut on the inside of the support. That nut will be used for mounting the tube
into the core support through a hole on top of the tube. The access will be
covered with Z emblem that will be recessed and double sided taped to the tube.
The tube will facilitate a location for drilling and mounting a IAT sensor ahead
of MAF. The MAF it self will have a cushioning rubber band and is slipped
into the tube where another rubber band is o top of the tube and everything is
secured with a steel band. The tube and MAF are then connected with Camaro OE
flexible tube to throttle body. A video of the roughly
shapped foam
The air cleaner is slipped on top of the tube and as the filter does not have
any fastening capability it is supported by frame bolted into lower core support
and extending upwards to prevent the filter from slipping. On top of the
filter there is a shield to prevent bugs and road debris launching into the
filter body
Video of almost completed plug
. . . More to come as progress develops. ...
Fiew selected pictures of tube making
tube tally
Noticed that after the car sat for couple of years it started to siphon coolant
and spew it out the tail pipe. Not entirely sure if that's because it was
sitting for that long or just coincidence as the exhaust was always foggy when
the engine was first bought and installed. Never trust the someone by their word
when you are buying an used untested engine. Also need to add return fuel line
for EVAP back to the tank. Though the function is removed from the PCM its still
open end coming from the fuel rail and just don't like to have any open ends in
the bay. |

