|
Now that the engine is semi-prepared and still worked on, next
phase is to clean up engine bay, remove un-necessary hardware/mounts and make
sure that the LS will fit inside and lastly make up new mounting for the engine.
2008-08-19
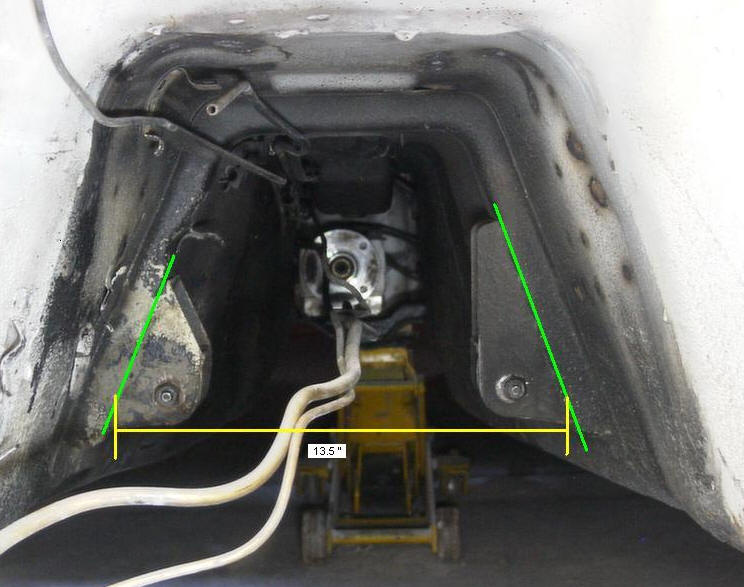
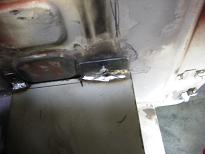
 Original transmission mounts as they where when the car came from
factory. Original transmission mounts as they where when the car came from
factory.
on the lower part the tunnel is 13.5" wide which makes 2" clearance on each
side of the tunnel when the 4L60 will go in. Not sure how this will look like
and how much clearance there will be for fuel lines, electrical, drive shaft and
dual exhaust
2008-08-23
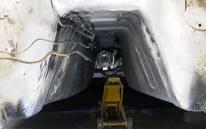
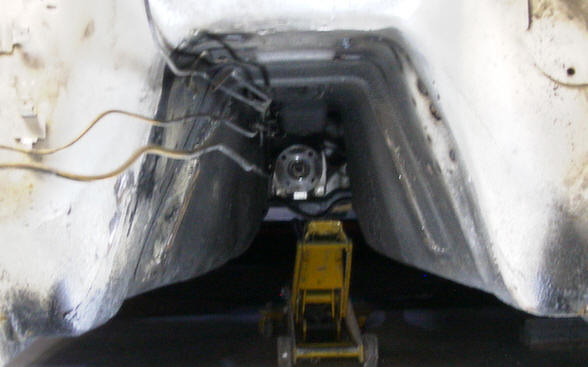
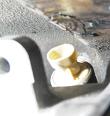
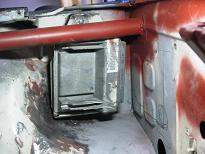
After removing them the tunnel is so much bigger, the cut out ears will be
perfect mount points after relocating them.
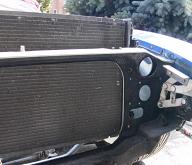
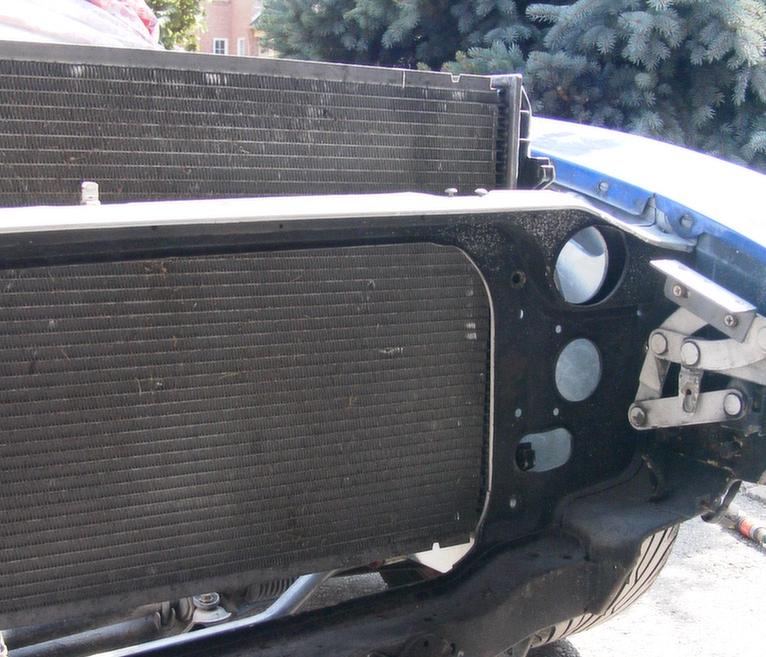
For for fun, this is the Camaro radiator i pickup with the engine. its 2 inches
to wide on each side so it can not drop any lower then the rails and makes it
stick up above hood line
 The
picture does not show how the mount will look like, I'll have to remove the
engine from the bay to finish setting it up and make final plates to adopt the
LS1 engine mount. In upper left corner there is starter which makes me worry on
how to make the headers and have it going out words. The
picture does not show how the mount will look like, I'll have to remove the
engine from the bay to finish setting it up and make final plates to adopt the
LS1 engine mount. In upper left corner there is starter which makes me worry on
how to make the headers and have it going out words.
2008-08-24


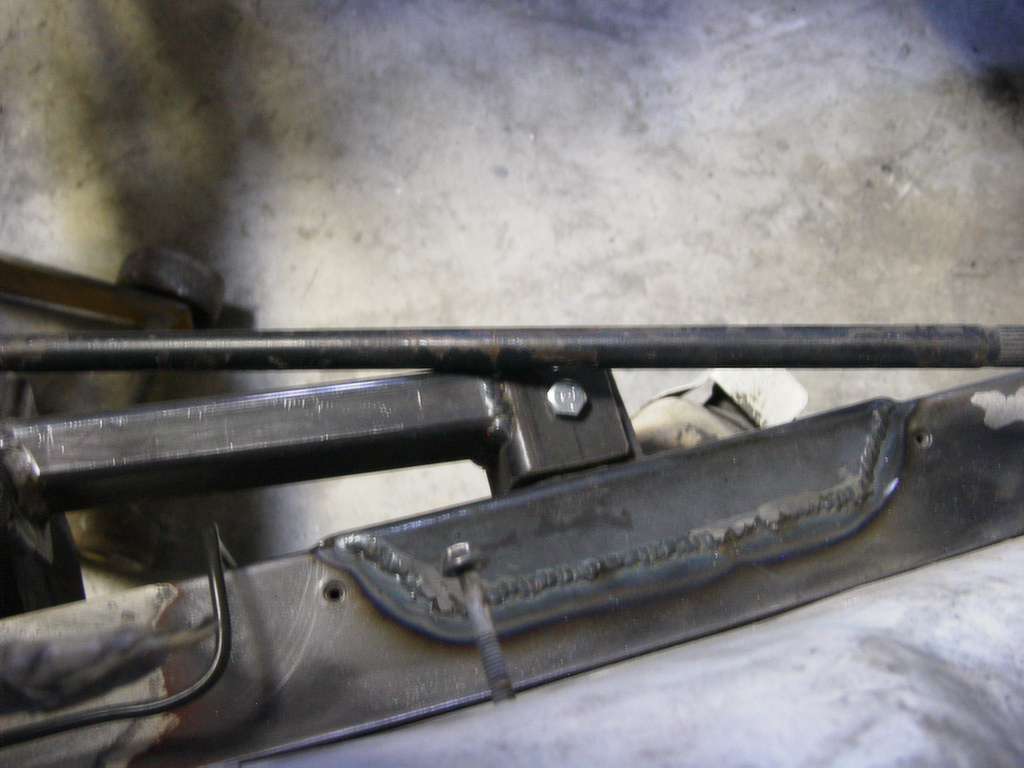
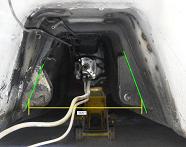
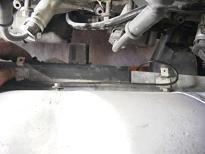
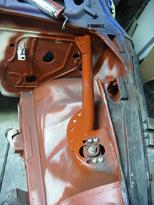
Extended frame rails closer towards the center which are going to be used
as perches so that engine mounts would be welded to it. I think that this
arrengement gives greatest flexibility and allow very safe engine mounting
2008-08-28
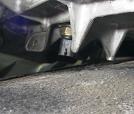 
Had some time to look around for clearances around the transmission today. I'm
actually very surprised that it clears as it does. the tunnel is very narrow and
the trans is considerably large, if it was mounted on hard mounts it would be ok
the way it is. However since it will be mounted on factory rubber mounts and due
to the movements there are 2 locations that will need to be adjusted. First one
is at left (drivers) side, the Skip Shift Solenoid connector will be in a way and
will brake if the original brace would be left alone. From what it looks like it
needs additional half inch of clearance for the connector. On the right side,
reverse switch connector and guard will be in the way as well. I'll have to
knock the tunnel in to give additional clearance.
2008-09-28

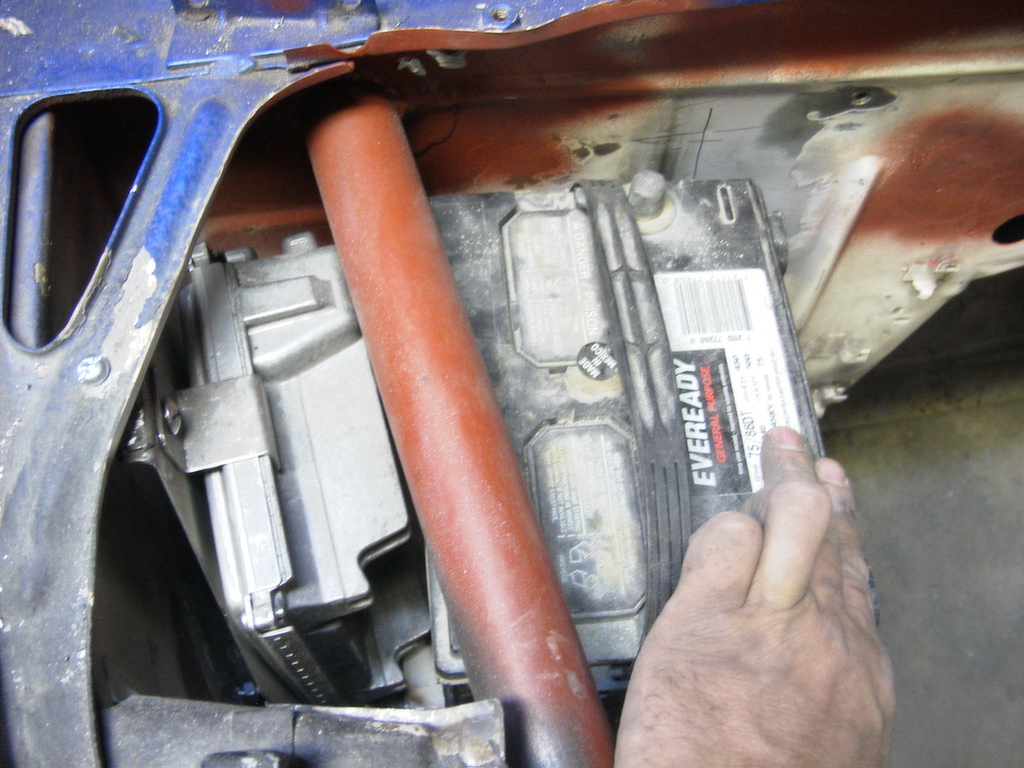
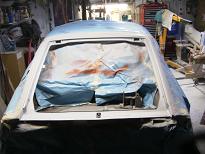
Few changes has been made since last update. Original battery tray has been
removed to clear the corner so that it can be reworked/widened and that the
battery can be lowered down and made removable via removing 4 screws 2 on
firewall & 2 on inner fender (top left) and
turned 90' to accomodate engine PCM behind hiding roll cage bar running from
inside of A-pillar cage and connecting front shock tower
(top)
Engine PCM and battery tightly tucked in in original battery location
(left)
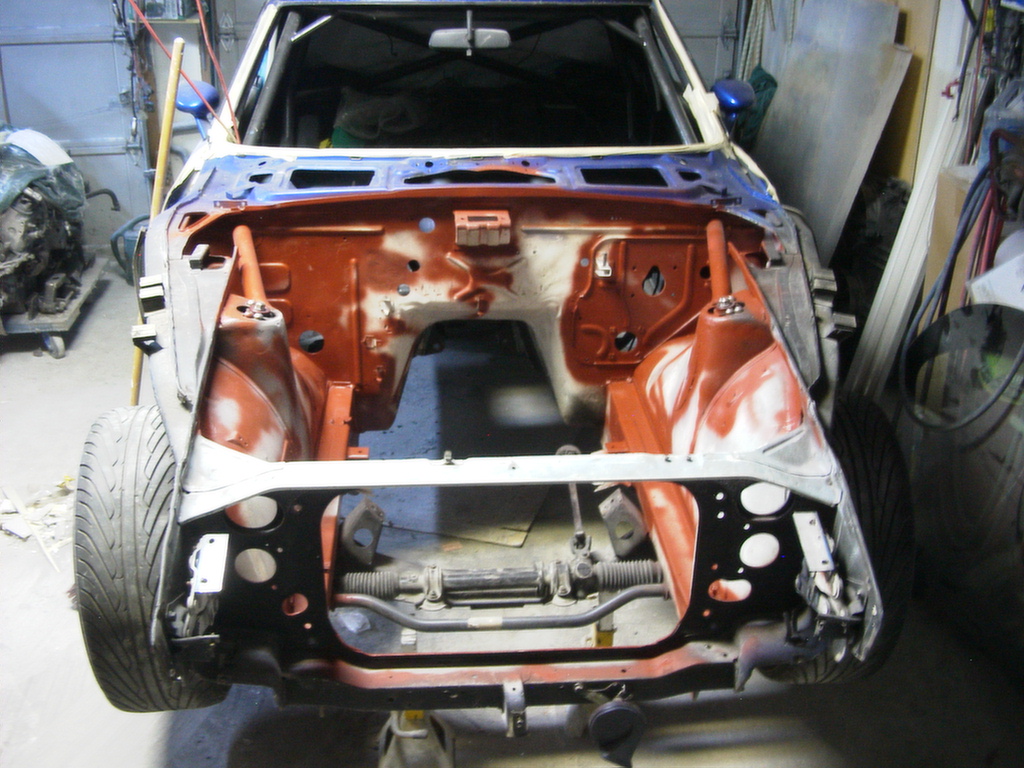
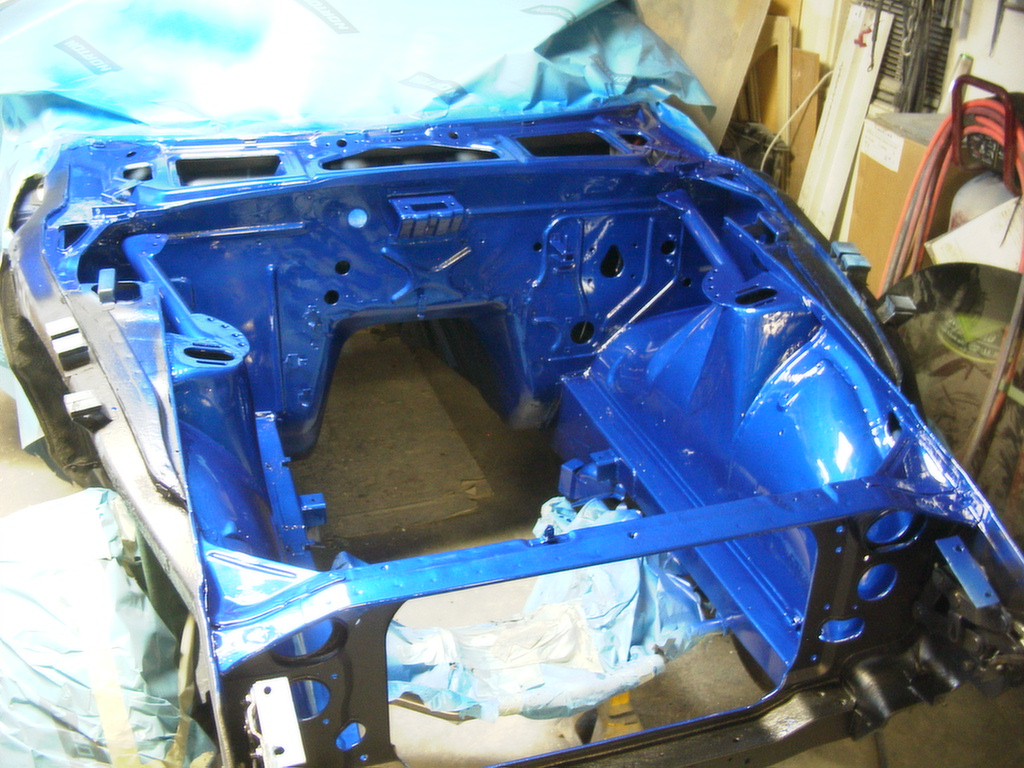
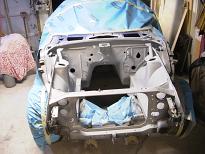
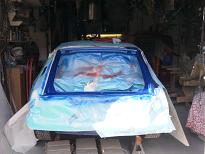
 AaaHHHH
finally, engine bay is cleaned up. AaaHHHH
finally, engine bay is cleaned up.
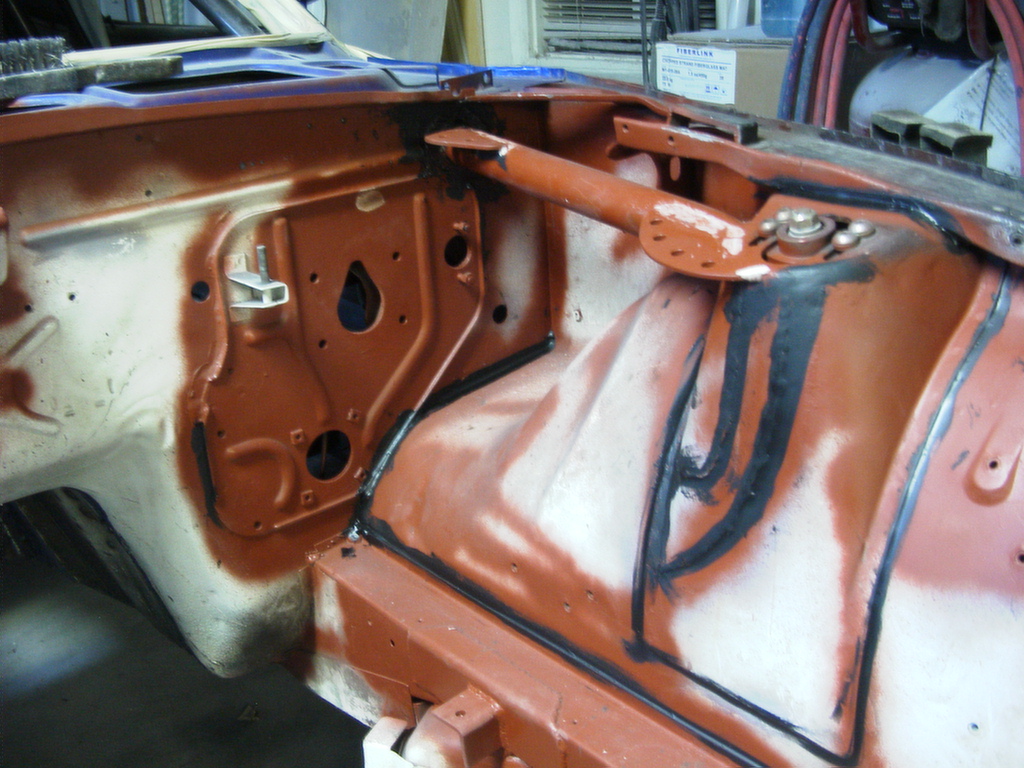
Anything that needed to be removed, cleaned up reworked, manufactured and welded
in is coated with rust proofing undercoating paint (Rust Destroyer).
Manufacturer guarantees for 5 years against rusting once applied to dry clean
surface then painted over with top coat paint. And the bonus of it is that it
withstands 800'F, perfect for cramp high temperature engine compartments !!!!
The bay will still get regular high build primer and some welding joints will
be smoothed out and get final coat of paint
February 8 2009
Though the this page has not been updated for some time there has been some
work done and can be seen in the gallery page.
2008-10-06
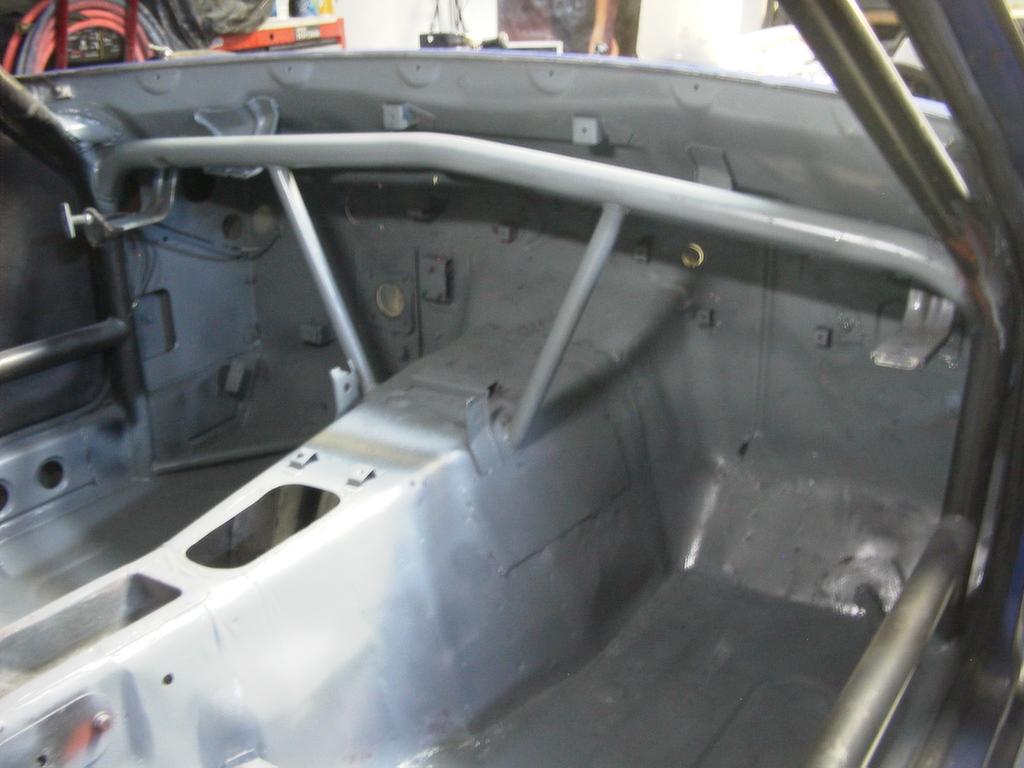
Last addition to the bay was to add mounting support on the shock tower cage
extensions. The tabs will provide X and tower braces thus stiffening the front
chassis.
2008-10-07

Since all the loose seal was removed during the cleanup, fresh expanding
joint sealer was applied to areas and to those that never had it. This I
hope will prevent moisture of getting into those areas and rotting the metal
2008-10-09
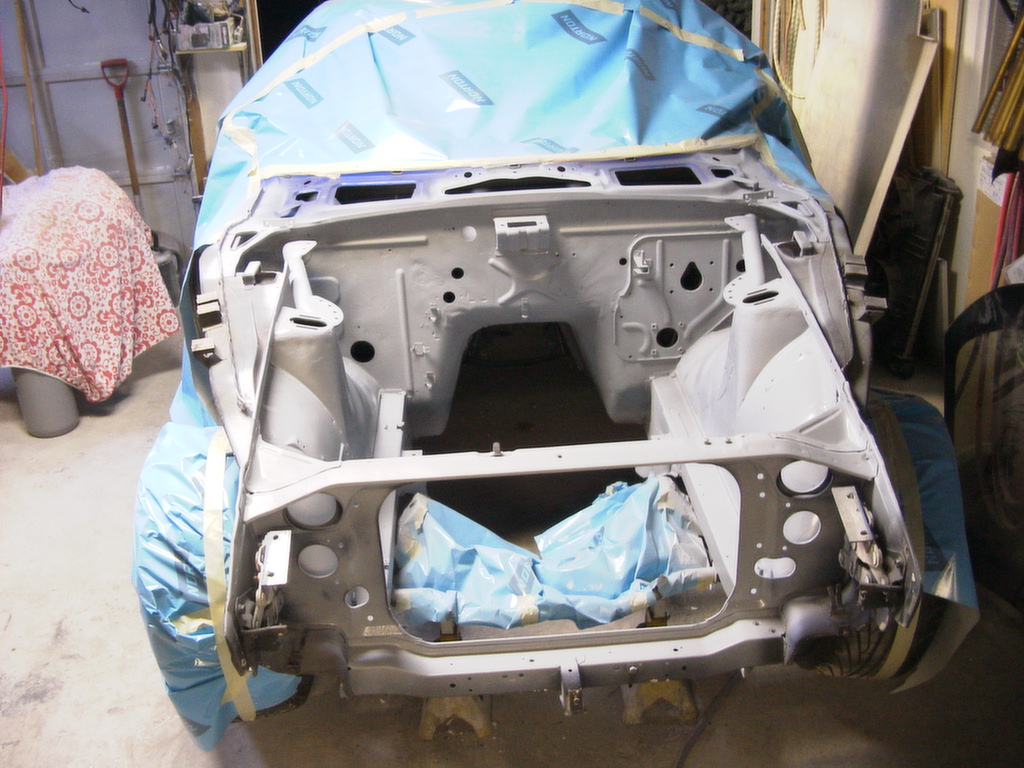
Could not wait for this time, finally primer on all the
clean up metal
2008-10-13
  More pictures in gallery
2008-10-24
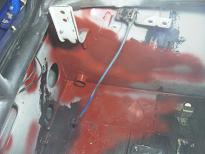
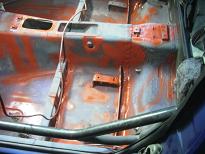  On
with the interior. For some reason the POR15 did not stick to the surface. over
few months number it started peeling off and surface rust started to get formed.
The other thing that was omitted was under the dash area. Original factory paint
was so thin that it started to get surface rust as well even though it was way
off from the floor boards. Some rust neutralizer will take good care of it at a
fairly expensive rate though. On
with the interior. For some reason the POR15 did not stick to the surface. over
few months number it started peeling off and surface rust started to get formed.
The other thing that was omitted was under the dash area. Original factory paint
was so thin that it started to get surface rust as well even though it was way
off from the floor boards. Some rust neutralizer will take good care of it at a
fairly expensive rate though.
2008-10-27
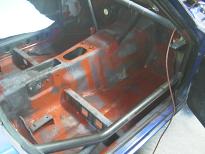
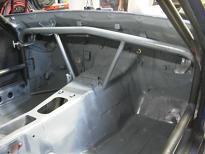 This is so much better looking. all rust cleaned up and even though it does not
have that uniform black look it does have high durability gray enamel paint that
will stand to brake fluid spills. This is so much better looking. all rust cleaned up and even though it does not
have that uniform black look it does have high durability gray enamel paint that
will stand to brake fluid spills.
|